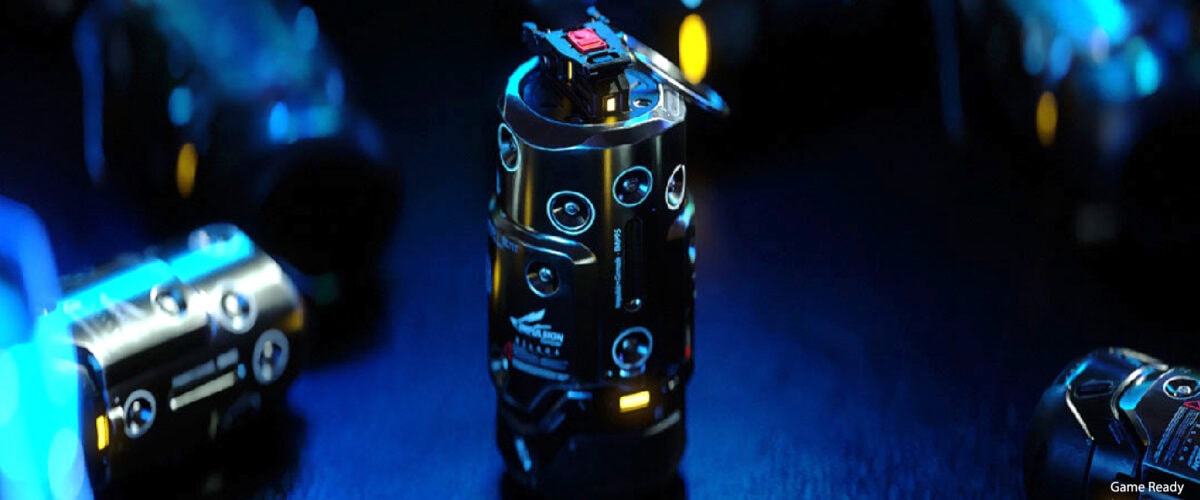
FUSION 360 to UNREAL 5 – Impulsion Grenade
An extensive breakdown and work-in-progress pictures documenting the process can be found after the renderings.
Project – Creating a game-ready asset for my portfolio and learning the Fusion/CAD workflow to adapt it to my needs.
What I did – I used a tutorial from Alex Senechal to kickstart my Fusion360 adventure. While I followed the initial design, I strayed from the original tutorial and adjusted the model. Additionally, I researched many ways to turn a CAD model into a game-ready prop and explored numerous options that allow for performance efficiency, texture-friendliness, and ease of retopology.
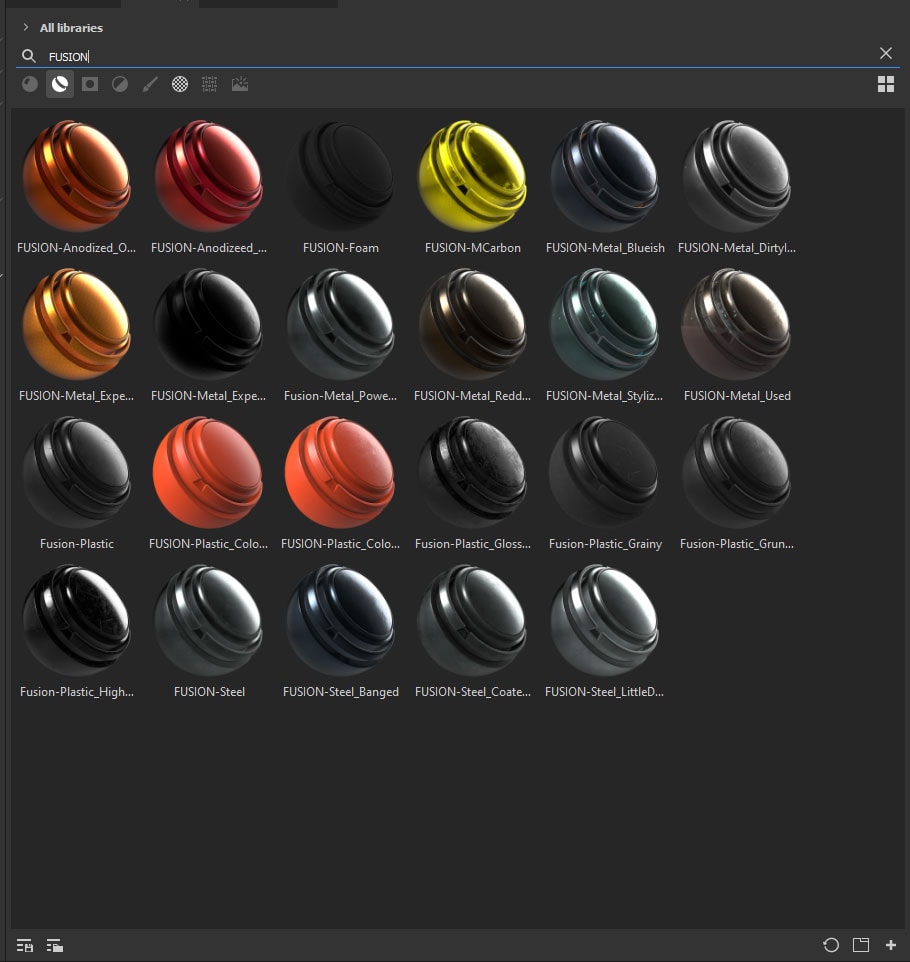
I also used this project to enhance my texturing skills. All the materials are Smart Materials that I created from scratch, which helped me build a small library of SMs that I can use in future projects.

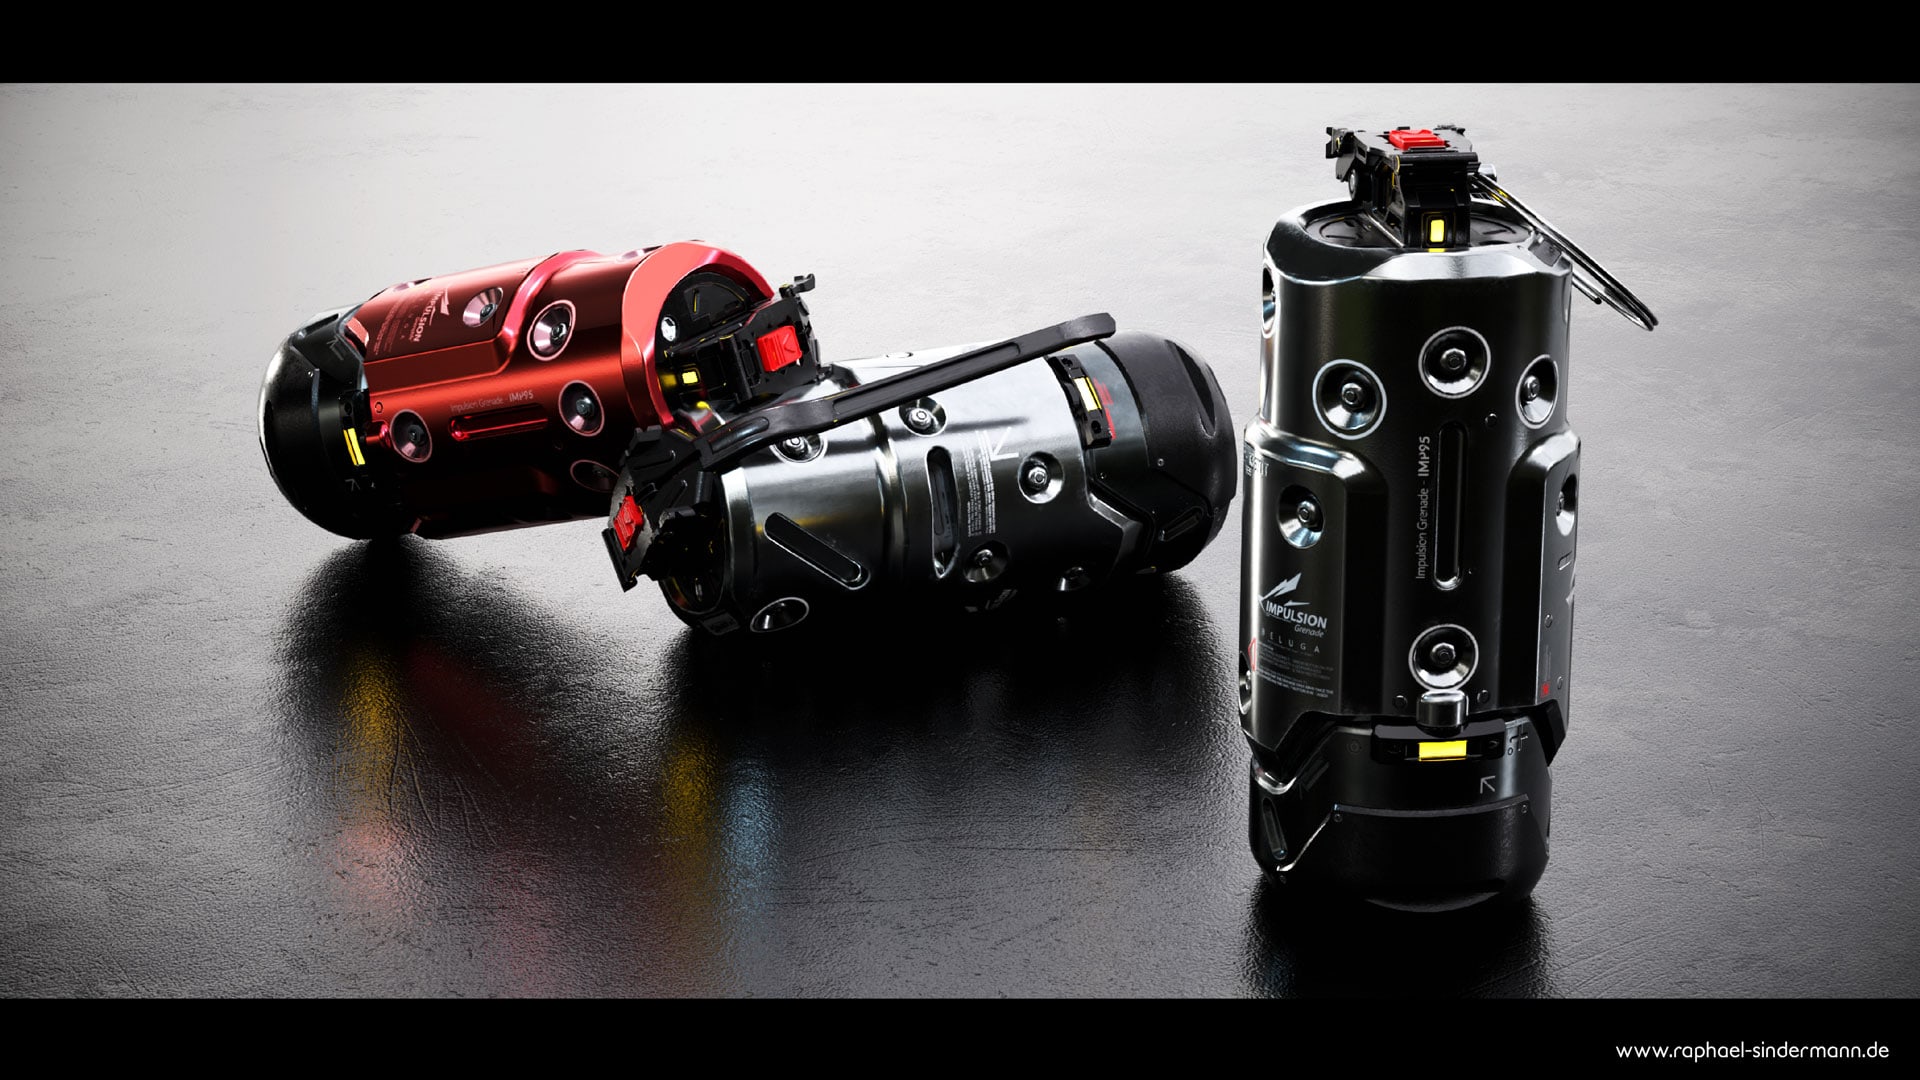
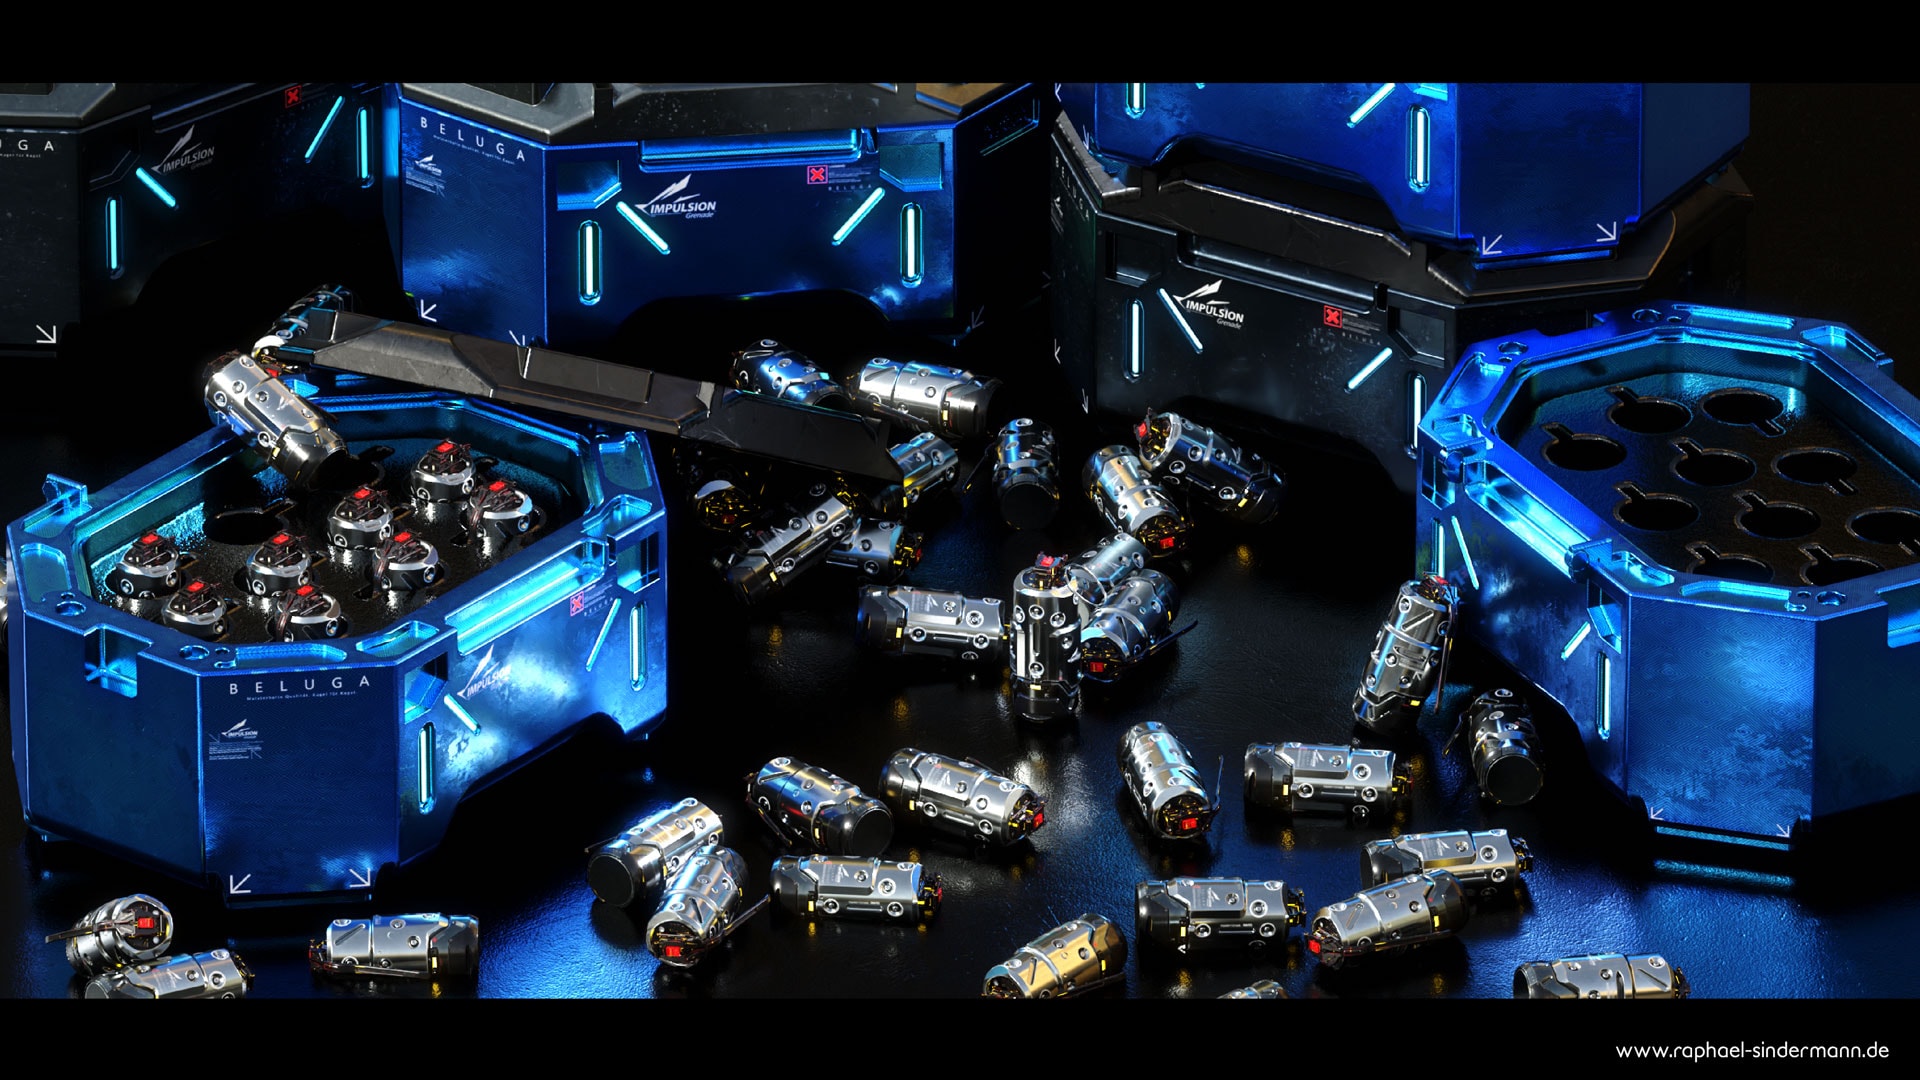
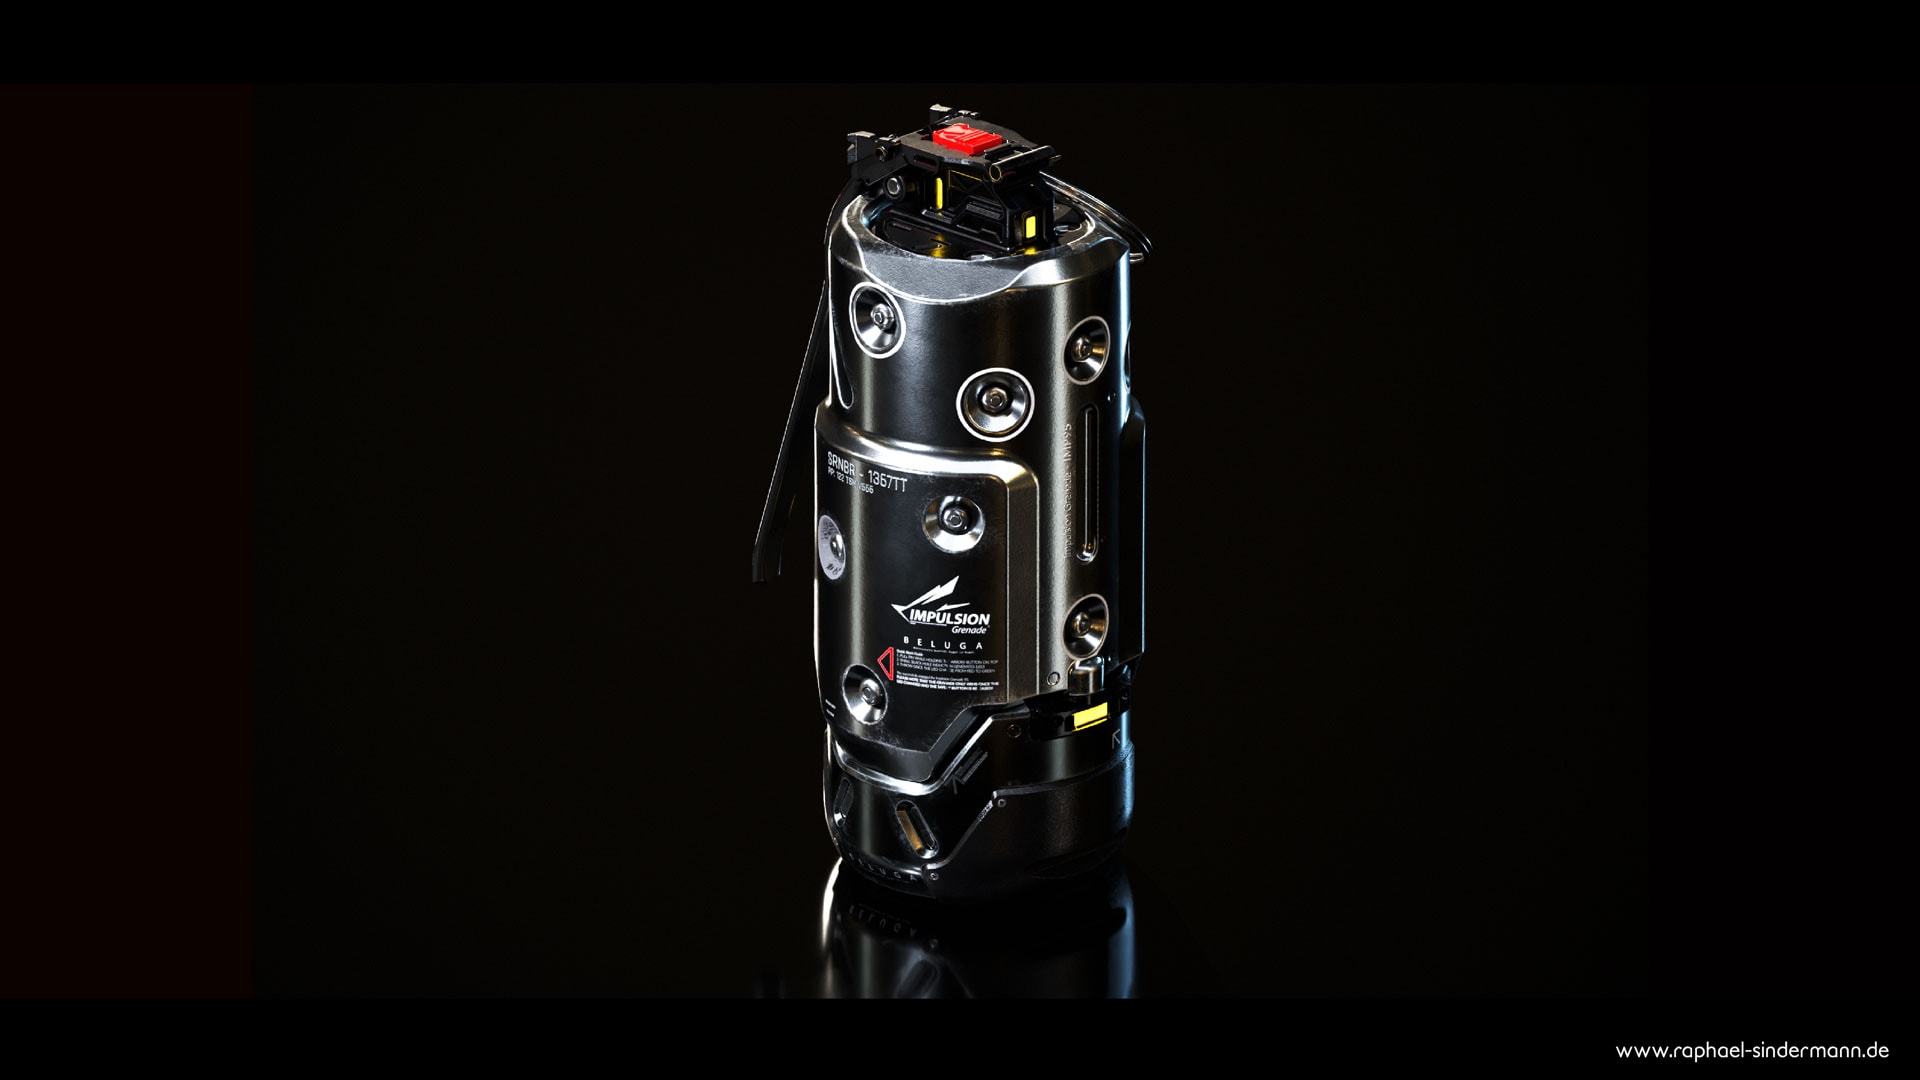
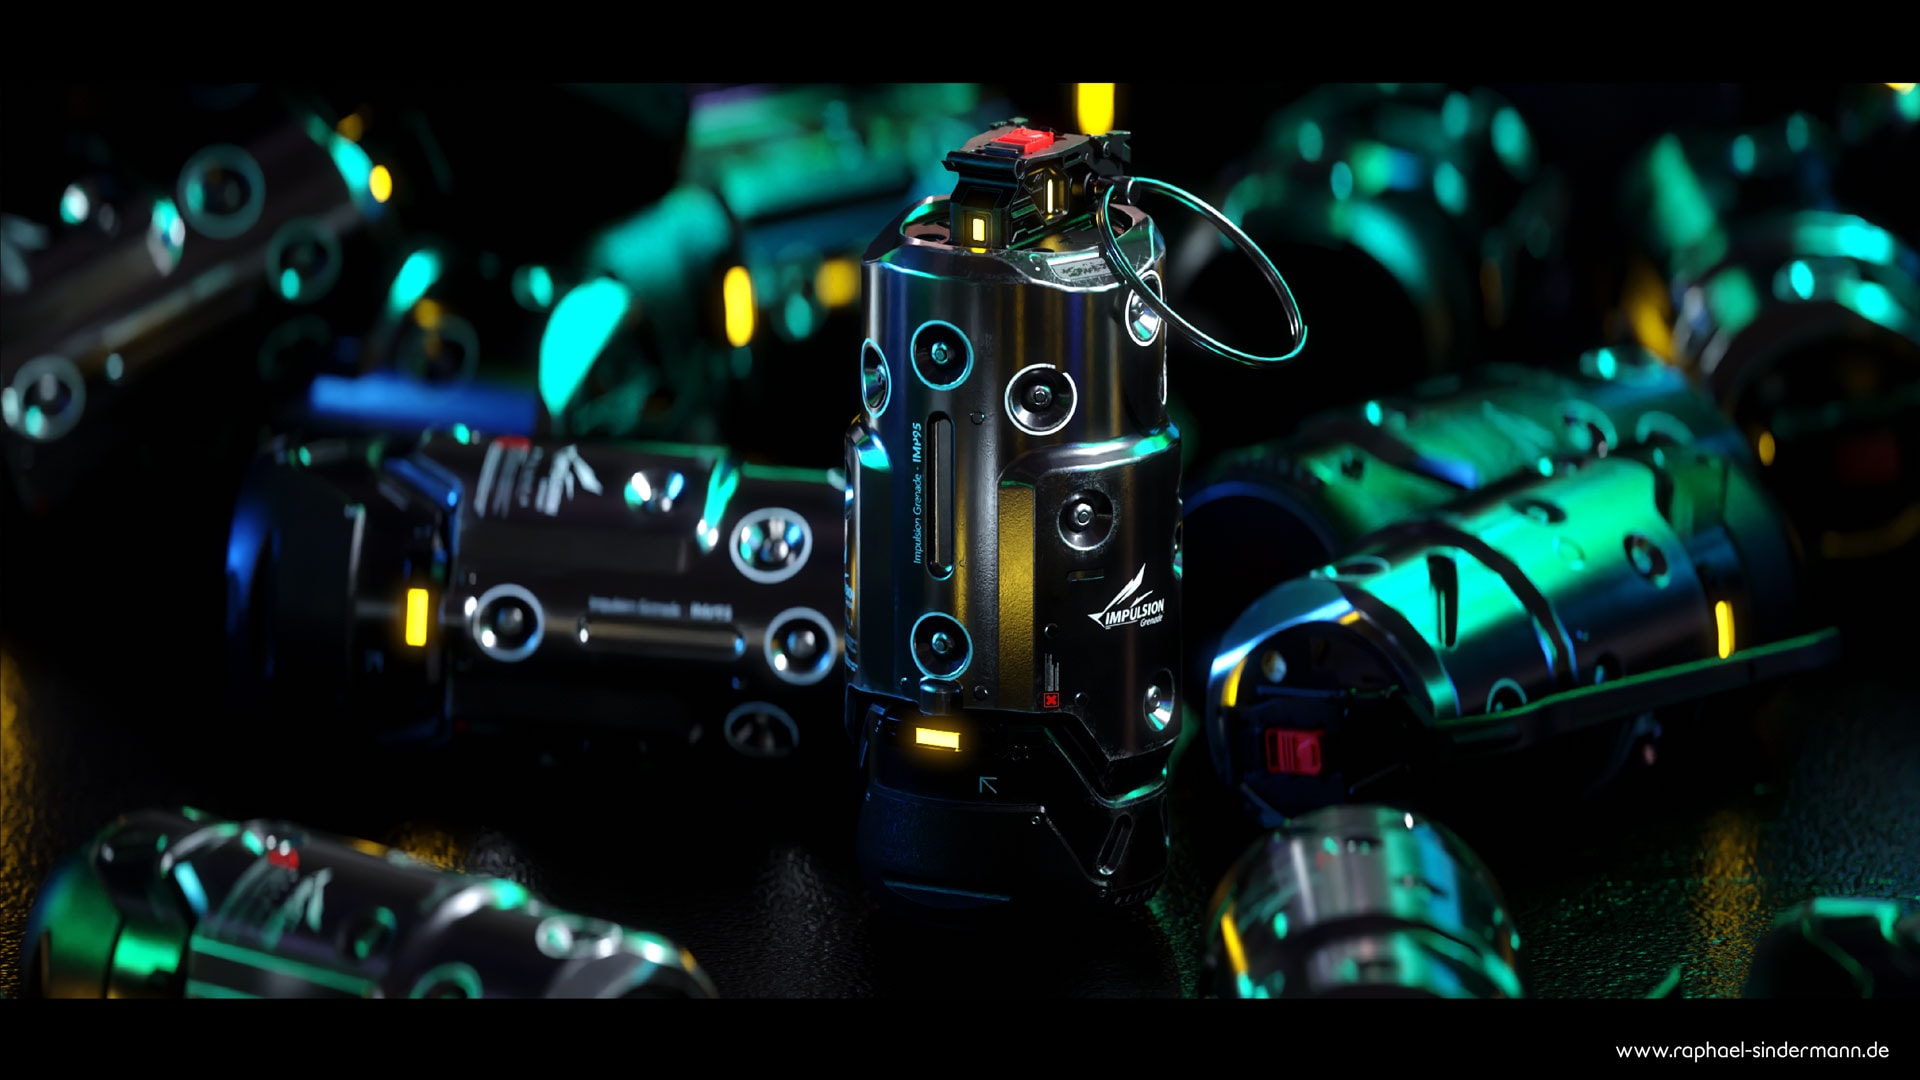
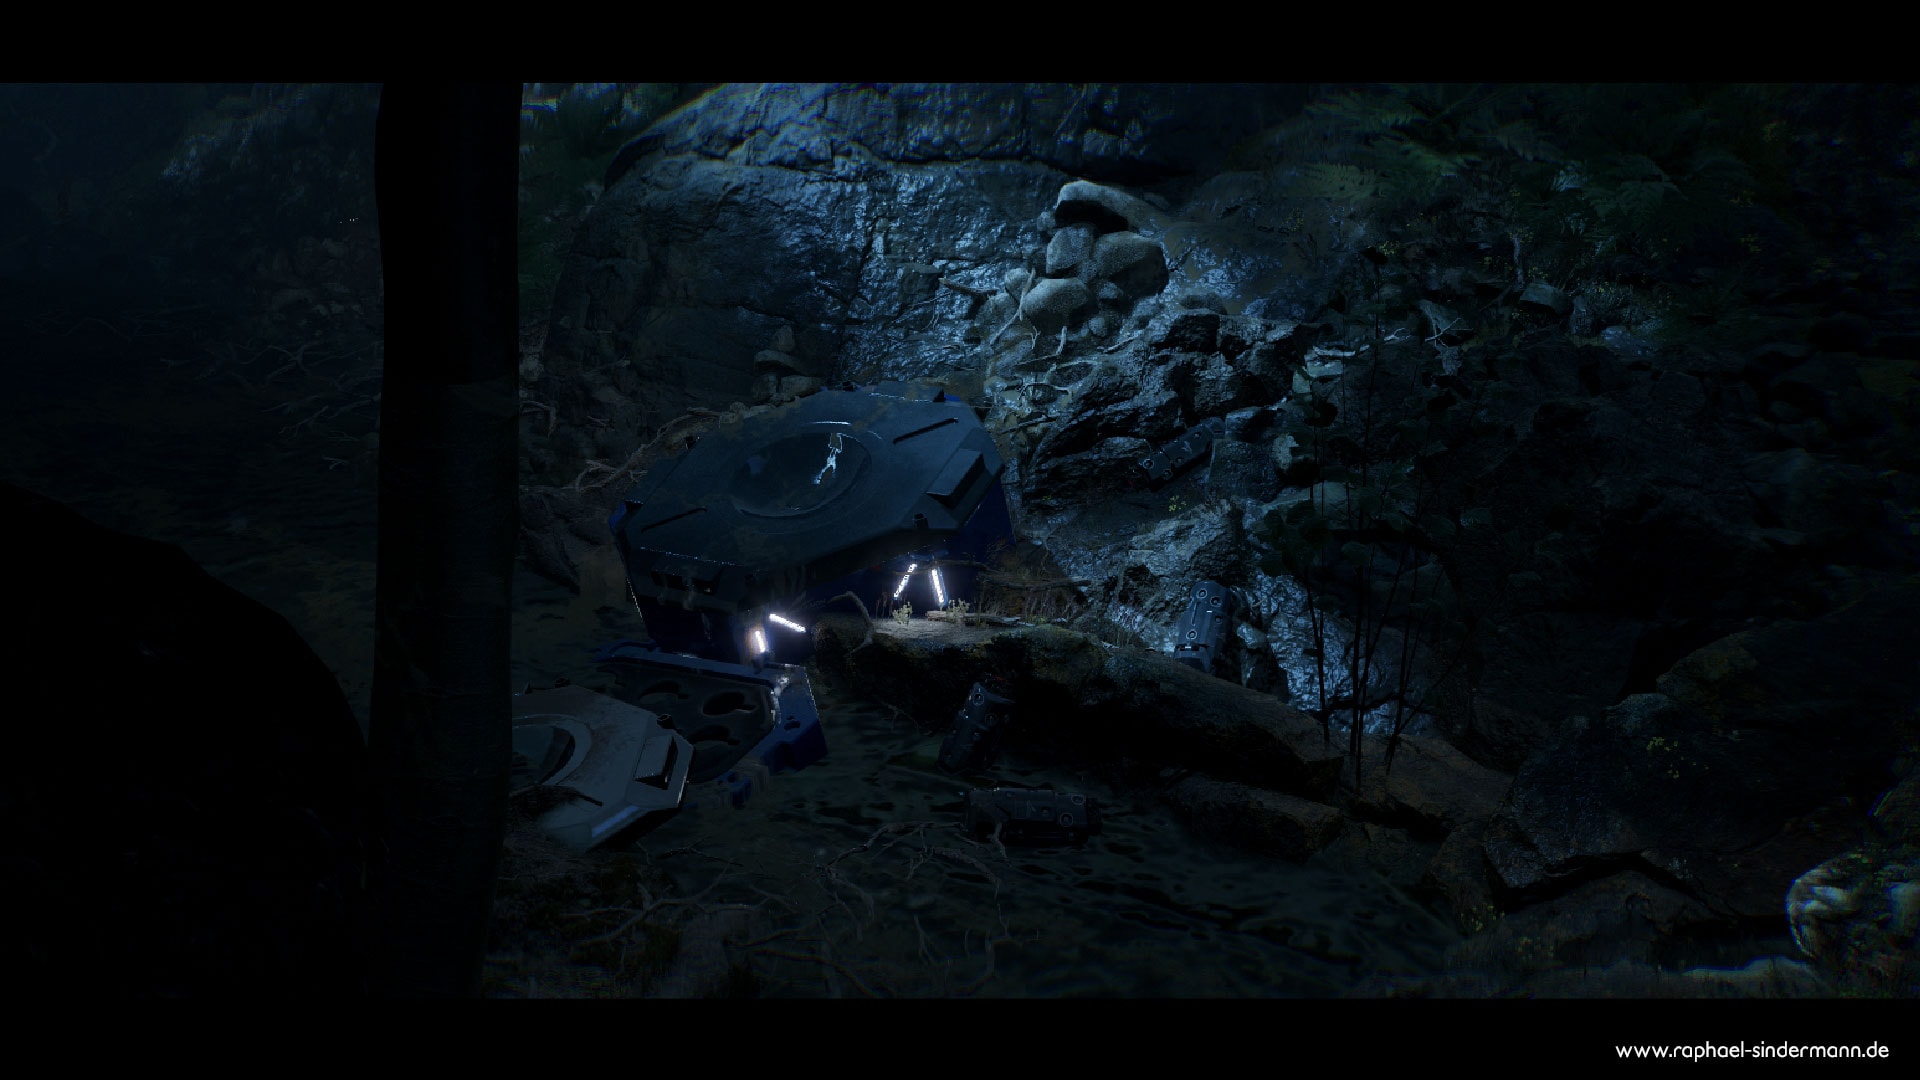
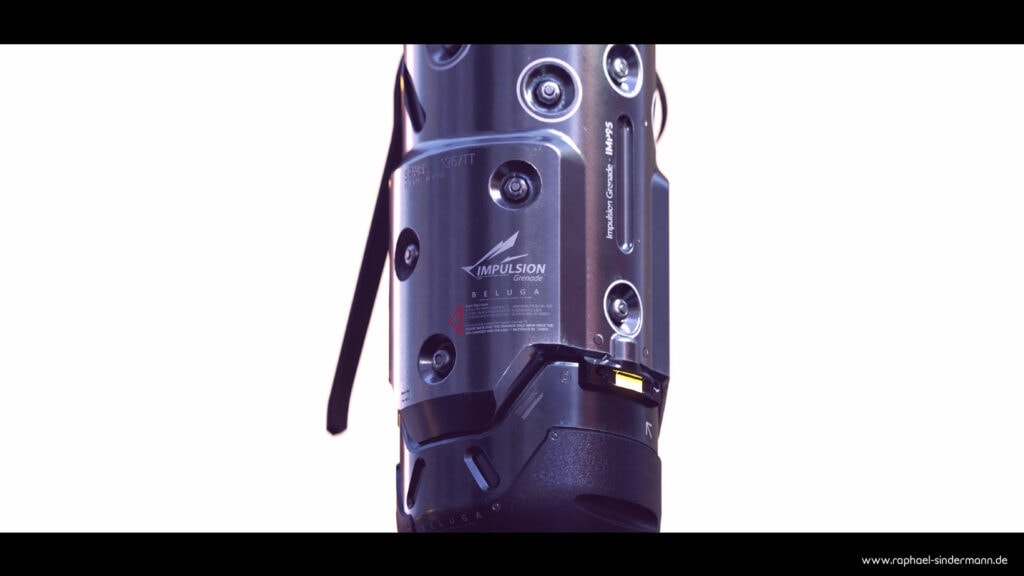
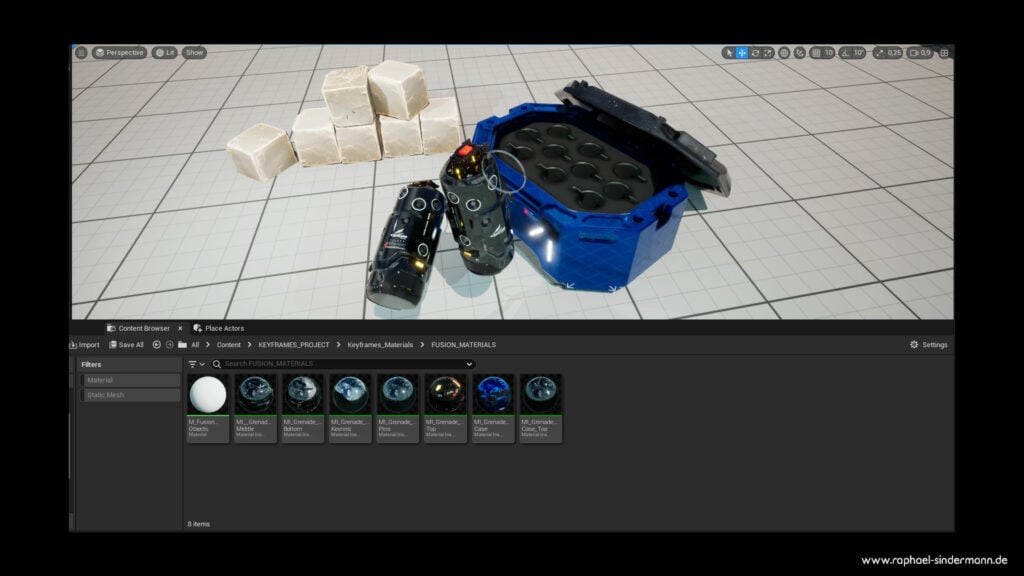
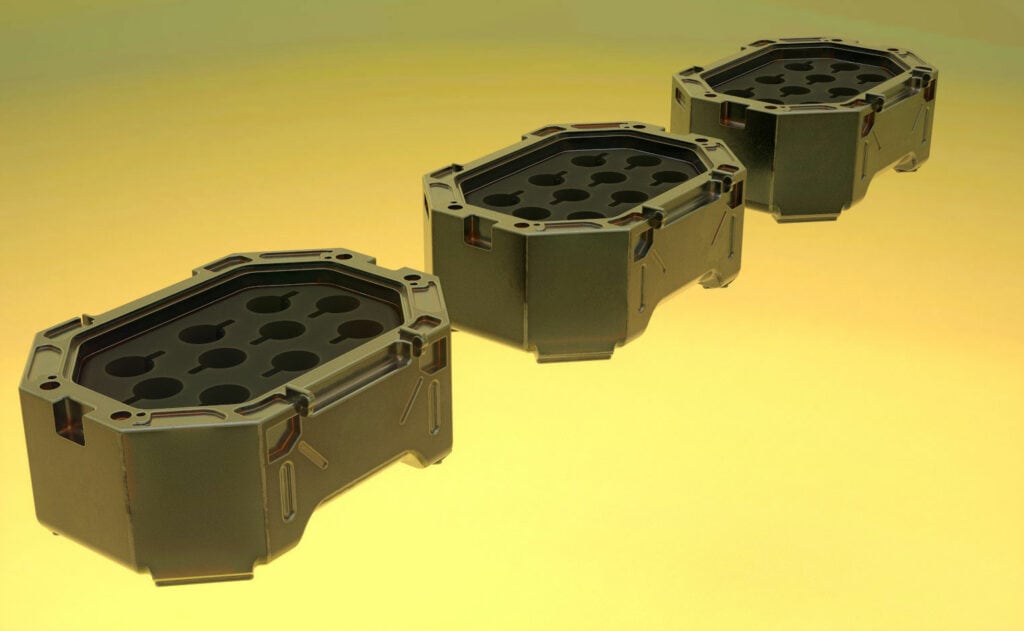
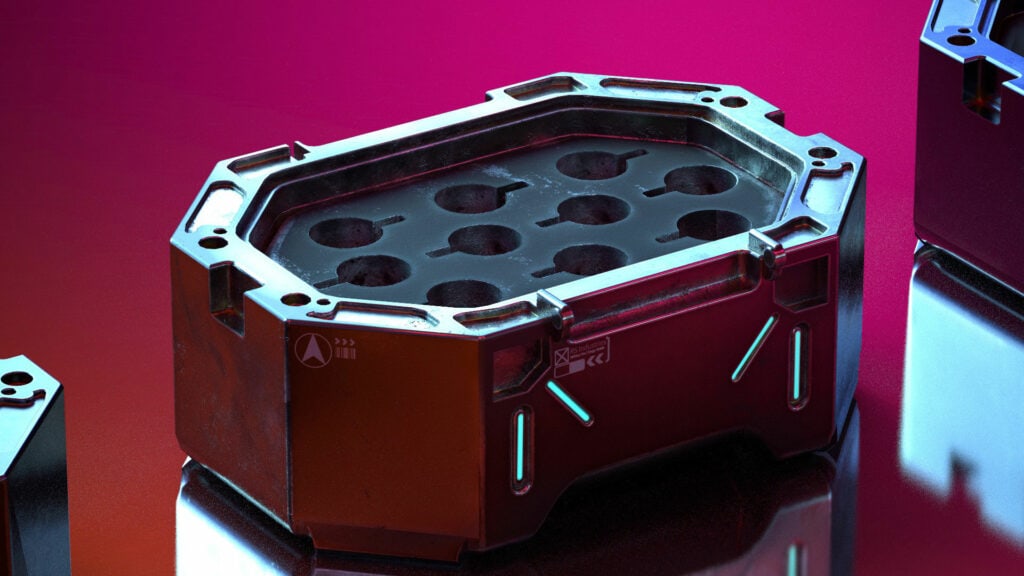
Showcase

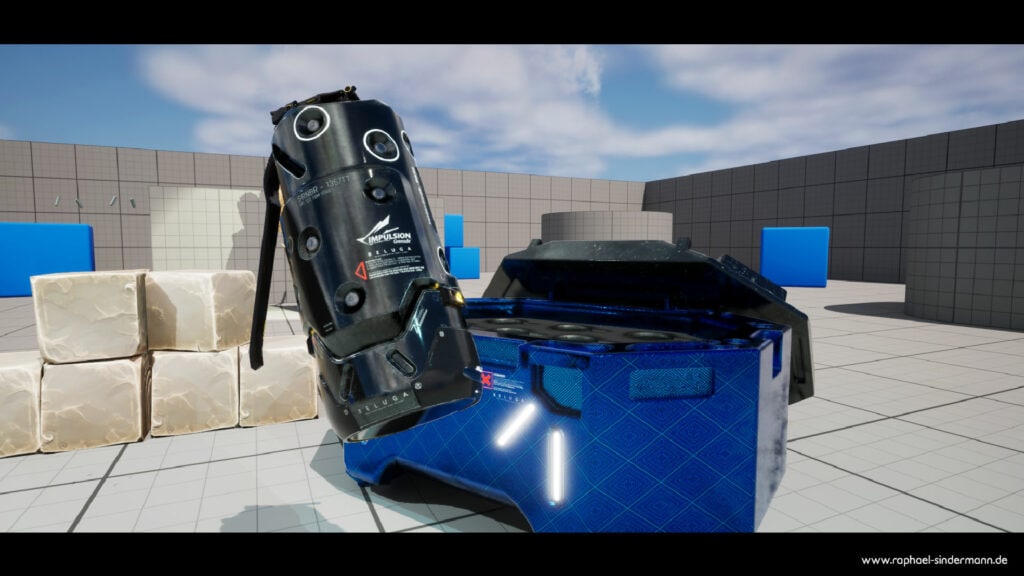
Goals And Project Breakdown
I began this project as part of my Bachelor’s Thesis preparation, which involves extensive hard surface modeling. My intention was to explore various methods that would enable me to efficiently create, retopologize, and texture CAD models for use within Unreal Engine. Thanks to Alex Senechal’s Fusion tutorial, I was able to swiftly grasp the fundamentals and delve into Fusion.
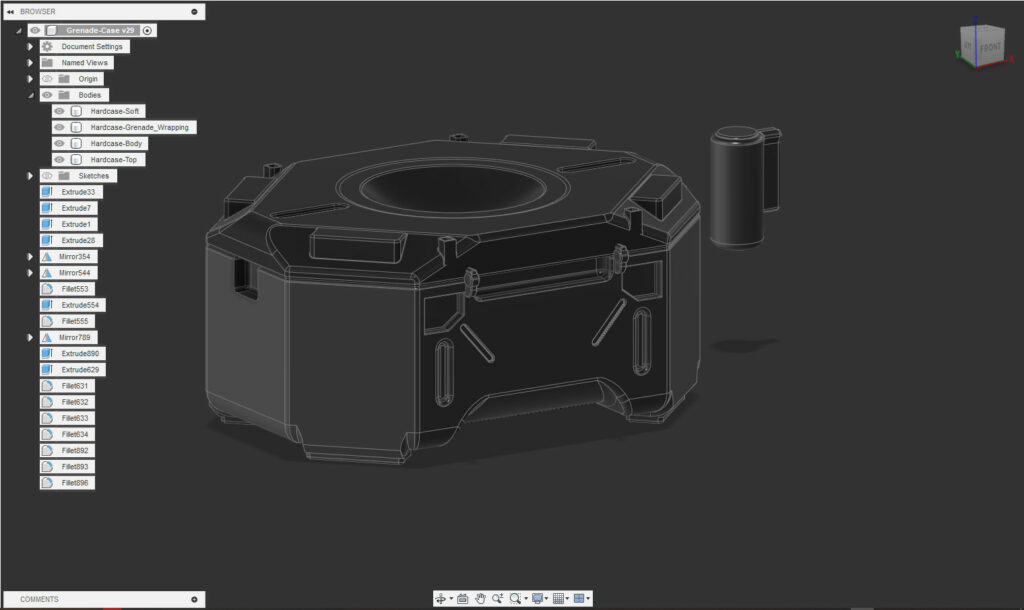
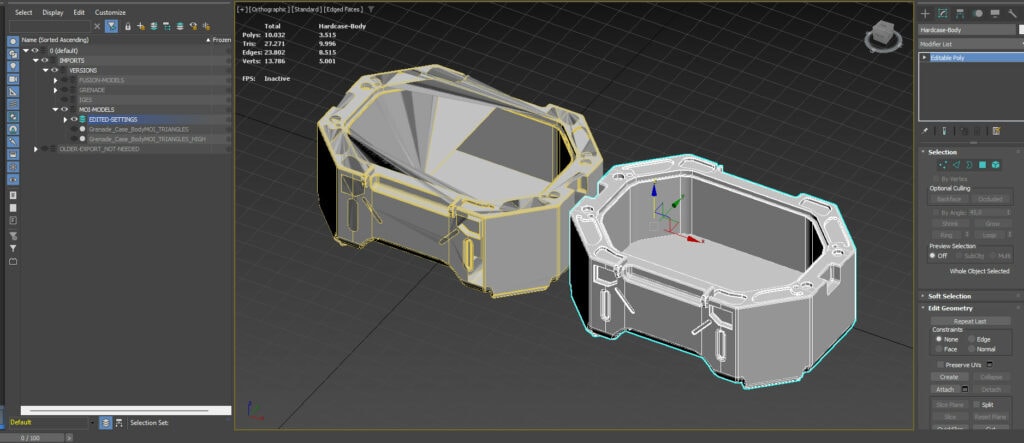
First and foremost, this project was intended to be my exploration of ways to create game-ready hard surface models efficiently and cleanly. Therefore, I experimented with various methods to export the final Fusion 360 objects. I collected them all in 3ds Max to further explore ways to optimize their performance and make them texture-friendly.
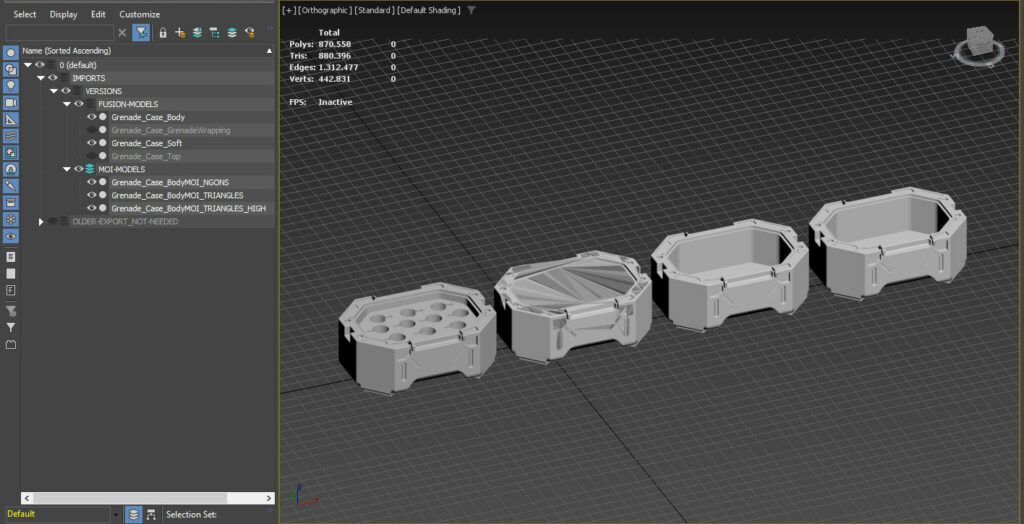
I exported directly from Fusion as OBJ and also converted some models inside MOI to Ngons, Triangles, and Triangles with Quads. After that, I imported all of them into 3Ds Max and quickly got rid of the Ngon version due to it being completely broken (which was my fault initially, but I discovered that a bit later).
Fusion does create its own set of UVs once you export the object, and MOI also keeps the islands intact. However, they are stacked on top of each other and need some packing to be used at all, which works well with 3Ds Max. Nevertheless, nearly all of the UVs needed some manual editing, stitching weird seams, or complete reworks. I suppose this could have been done much easier with RizomUV, but I wanted to do it manually to improve my unwrapping skills.
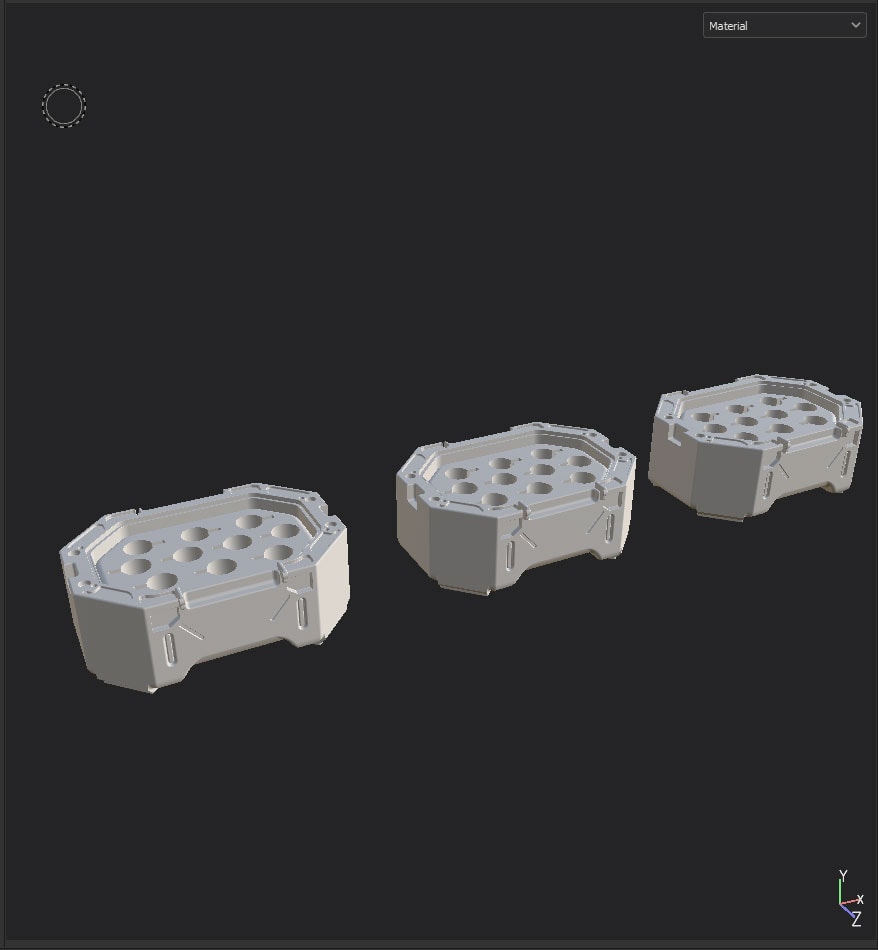
I test-baked the three remaining models inside Painter and was surprised by how well my materials worked on the objects. However, as you can see in the third picture above, the shading wasn’t correct in many locations.
After some internet research and more testing, I realized that the Ngon version might be the best version to use for my game-ready approach. My issue was that I didn’t export the decimated model from MOI in an FBX format; instead, I used .obj, which completely destroyed the model. With the FBX inside 3Ds Max and some nicely reduced surfaces, I was able to create final unwraps for both the Grenade and the Case.

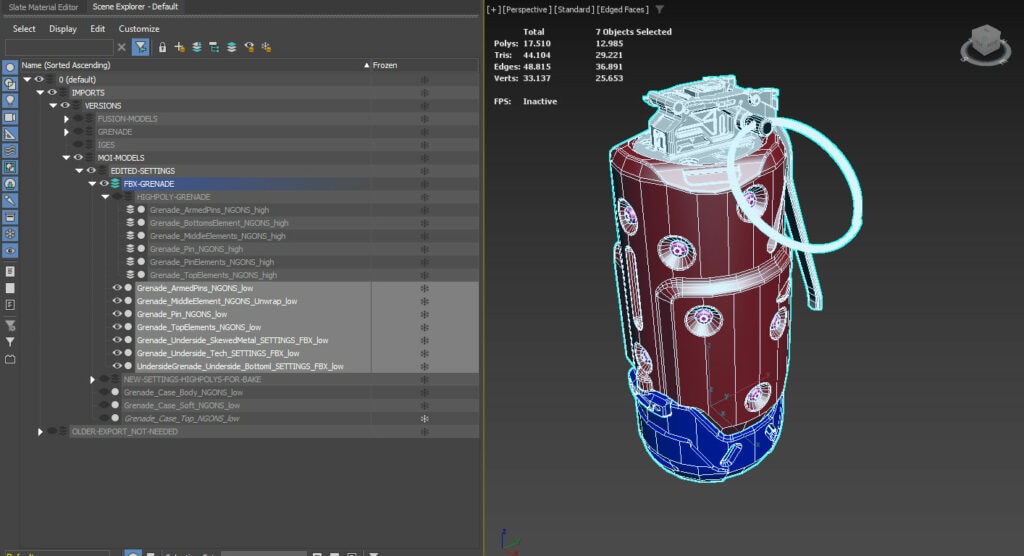
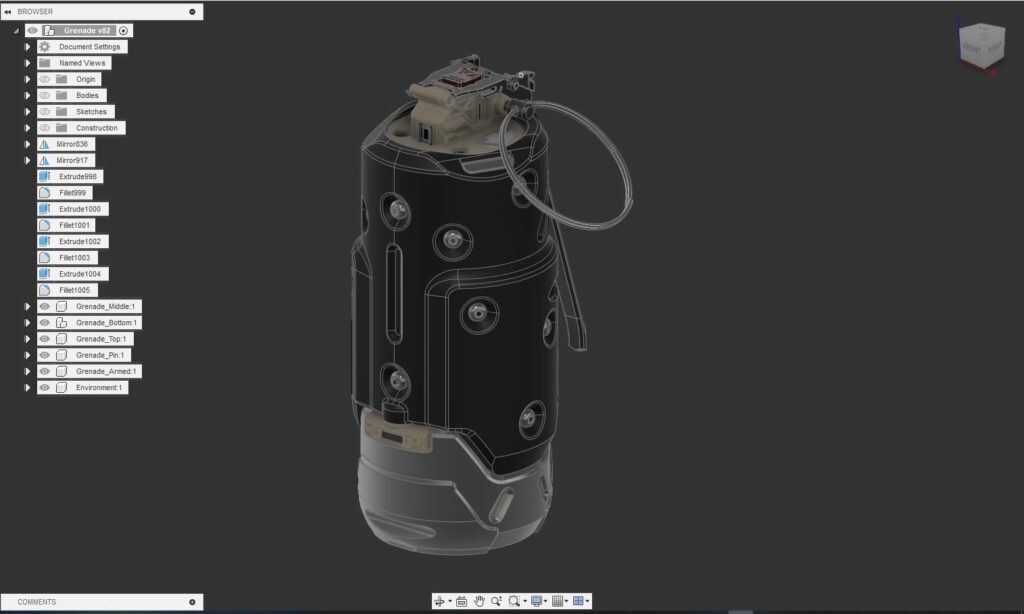
Once I was happy with the case, I went ahead and repeated all the steps with the grenade. Which was much more detailed and complex. In the end, I got a model that is nearly 13k polys big. I could have gone way more down with the overall resolution, but the way I went about the Fusion process showed a few mistakes. One thing I learned is that one should not use the „smoothed“ (fillet, detailed) endresult from Fusion. A blockout, that resembles the silhouette and the most important details and is without fillet edges, is much better suited to create optimized lowpolys via MOI or / and with ZBrush. The object and the overall size is good enough for me and for my project goal.
Also, a lot of my design decisions are way to intricate (especially on the top), and thus created issues with small elements of the grenade – that is by itself supposed to be a relatively handy item. This led to a much better understanding of designing hard surface objects, where to place details and where complexity shouldnt be too overbearing.
In conclusion, these assets are well suited inside Unreal, especially as a nanite models. They dont deform or get animated, and there also no lighting/shading issues within different render programs or Unreal – so NGONS are quite useful here.
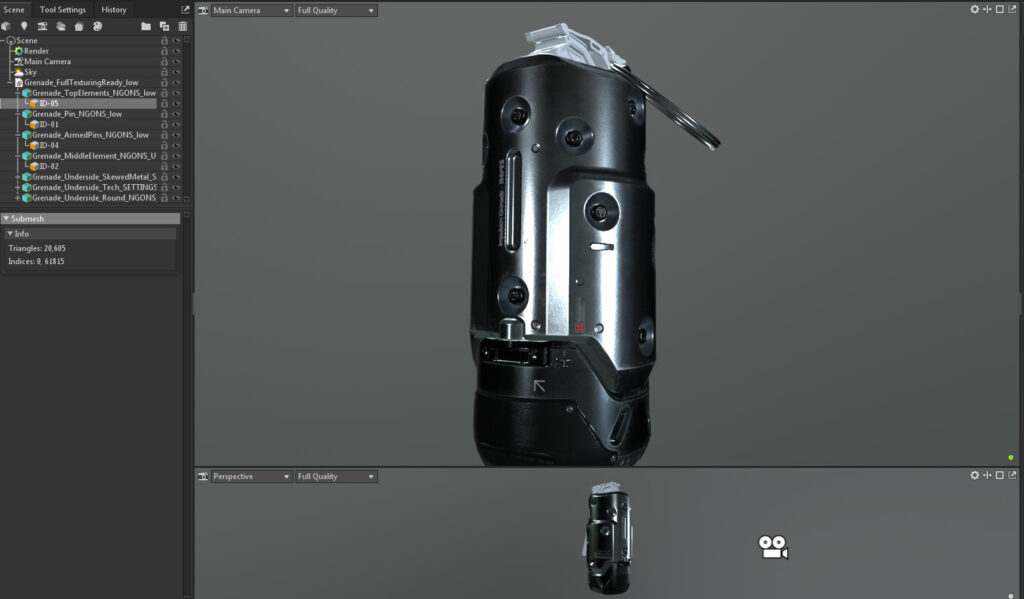
This prop is now ready for my tests inside Unreal and overall, I am very happy with the outcome. The learnings will prove valuable over the course of the next projects, that all involve Fusion360.
2023